


Level Up Your Designs: Easy-to-Use Software for Beginners
Want to create stunning visuals that capture attention and communicate effectively? Do you feel intimidated by complex professional design software? You're not alone. Many aspiring designers, entrepreneurs, marketers, and even hobbyists find the learning curve of traditional design tools overwhelming. Thankfully, a new wave of graphic design software caters specifically to beginners. These programs offer intuitive interfaces and powerful features without the high cost or complicated technical demands.
These tools address accessibility by providing user-friendly platforms that simplify complex design processes. They empower you to create professional-looking graphics for social media, marketing materials, presentations, websites, and more, even with no prior design experience. Choosing the right tool depends on several factors.
Your budget, the types of projects (image editing, vector graphics, layout design, etc.), and your desired level of control and customization all play a role. An effective tool balances ease of use with robust functionality, often including templates, drag-and-drop interfaces, and accessible learning resources.
Finding the Right Software
Some tools offer free versions with limited features. Others provide premium subscriptions for access to the full suite of capabilities. Technical considerations might include operating system compatibility (Windows, macOS, Linux), cloud-based vs. desktop software, and the availability of mobile apps for editing on the go.
Exploring the Top 10
In this listicle, we'll explore the top 10 graphic design software options for beginners, examining their key features, pros and cons, pricing structures, and ideal use cases. By the end, you'll have the information necessary to choose the perfect software to unleash your creativity and elevate your design work.
1. Canva
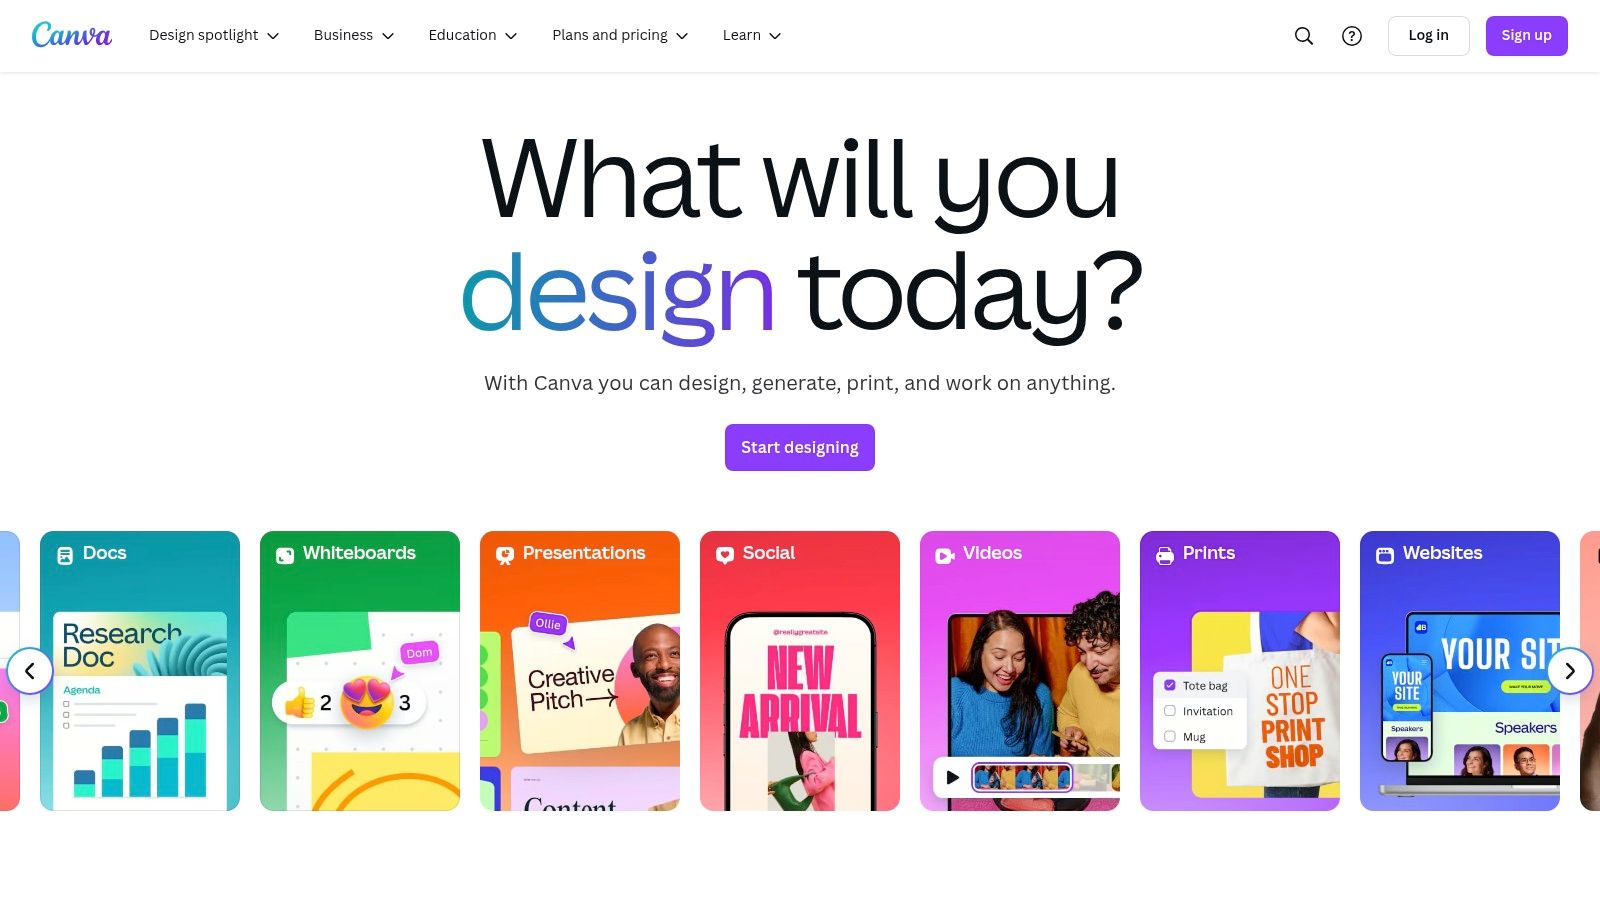
Canva holds the top position on this list due to its remarkable accessibility and a robust free plan. This web-based graphic design platform is ideal for beginners, empowering anyone to create professional-looking visuals, regardless of prior design experience. Whether you're a digital marketer creating social media content, a business professional working on presentations, or a remote worker enhancing internal documents, Canva caters to a wide range of design needs.
Its intuitive drag-and-drop interface makes it incredibly easy to use, with a minimal learning curve. Select from thousands of free templates for various projects, including Instagram stories, YouTube thumbnails, infographics, and resumes. Canva also offers a built-in photo editor with filters and adjustment tools, allowing you to enhance your images directly within the platform.
Need to collaborate with a team? Canva's collaboration features facilitate seamless teamwork, enabling multiple users to edit and contribute to projects in real-time. Furthermore, the Canva mobile app extends this functionality to mobile devices, allowing for design work on the go.
Key Features of Canva
- Drag-and-drop Interface: No design experience is necessary.
- Extensive Template Library: Pre-designed templates for a wide variety of needs.
- Built-in Photo Editor: Basic image editing tools are readily accessible.
- Collaboration Features: Work seamlessly with team members on projects.
- Mobile App: Design from anywhere, at any time.
Pros and Cons of Using Canva
Pros:
- User-Friendly: Exceptionally easy to learn and use, even for beginners.
- Generous Free Version: Substantial functionality is available without any cost.
- Regular Updates: New templates and features are added frequently.
- Cloud-Based Storage: Designs are securely stored in the cloud.
Cons:
- Limited Advanced Features: Canva lacks the depth of professional design software like Adobe Photoshop.
- Paid Subscription for Premium Elements: Accessing certain templates and design elements requires a Canva Pro subscription.
- Less Design Flexibility: Canva may not be ideal for highly customized or complex designs.
- Limited Offline Functionality: Primarily web-based, requiring an internet connection for full functionality.
Canva provides both free and paid plans. The free version is remarkably powerful, offering access to a vast library of templates, photos, and design elements. Canva Pro provides additional benefits such as access to premium content, brand kits, and advanced editing tools. For other helpful resources, you may be interested in: Our Sitemap.
Getting Started with Canva
- Sign up for a free Canva account.
- Choose a template that fits your design requirements.
- Customize the template with your text, images, and branding.
- Download your design in various formats (e.g., PNG, JPG, PDF).
Canva is a powerful tool for anyone seeking to create visually appealing graphics without the steep learning curve of professional design software. It allows users to design a variety of materials, from social media graphics to presentations and marketing materials, making it a valuable addition to any graphic design toolkit.
2. Adobe Photoshop Elements
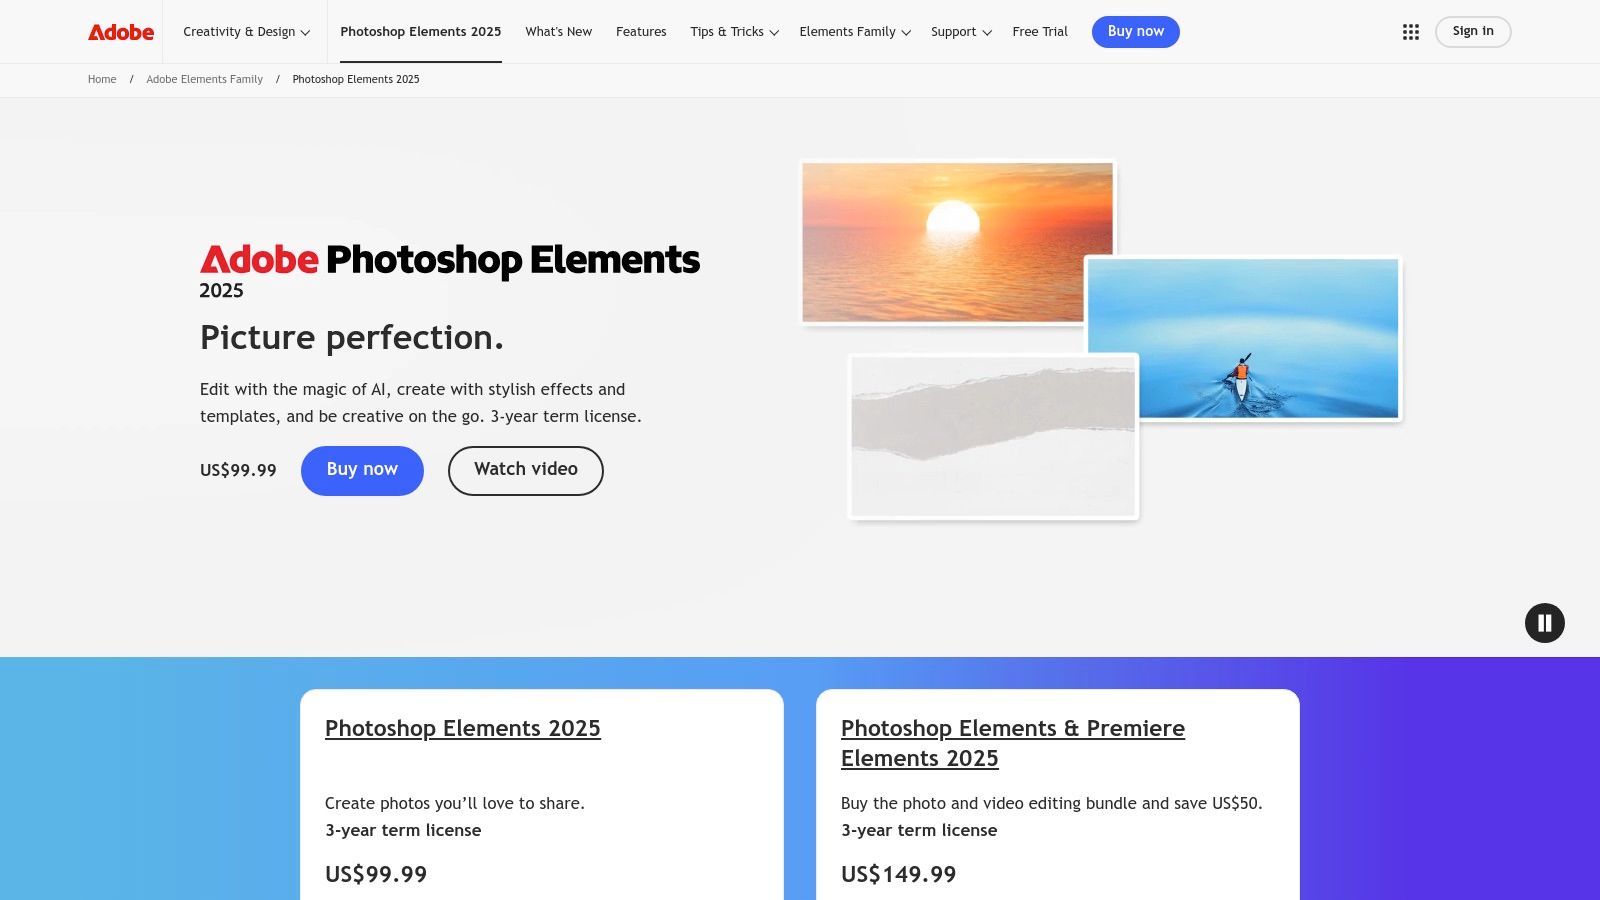
Adobe Photoshop Elements bridges the gap between simple online image editors and professional software like Adobe Photoshop. It offers a streamlined experience, perfect for beginners and hobbyists wanting more advanced features without the complexity. It's a great way to get a taste of Photoshop's power.
This software handles a variety of tasks, from retouching photos to creating marketing materials and social media graphics. Business professionals can use it for quick product image edits or promotional materials. Digital marketers can optimize images and create engaging visuals. Even remote workers will find its image editing and document creation capabilities beneficial.
Key Features and Benefits
-
Guided Edits: These step-by-step instructions simplify complex tasks like removing backgrounds, adding text effects, or correcting colors. They act as a built-in tutorial for users.
-
Adobe Sensei AI Technology: Photoshop Elements uses Adobe Sensei, its AI technology, to automate tasks like image tagging and object removal with content-aware fill. This frees up time for creative work.
-
Organizational Tools: Manage your photos efficiently with built-in organizational tools. Tagging, searching, and filtering options help you quickly find the image you need.
-
Layer-Based Editing: This core feature of professional Photoshop allows for non-destructive edits and design flexibility. It offers a powerful way to manipulate and refine images.
-
One-Time Purchase: Unlike the Adobe Creative Cloud subscription, Photoshop Elements is a one-time purchase, offering a more budget-friendly approach for users who don't need the entire Adobe suite.
Pros and Cons
Here's a quick breakdown of the advantages and disadvantages:
| Pros | Cons |
|---|---|
| More affordable than Adobe Creative Cloud | Less powerful than full Adobe Photoshop |
| Simplified interface with pro features | Steeper learning curve than web-based editors |
| Regular updates with new features | Limited vector graphic capabilities |
| Integrates with other Adobe products | No cloud storage included in the base price |
Implementation Tips
-
Explore online tutorials and resources to learn the interface and features. Many helpful guides and communities are available online.
-
Start with guided edits to grasp the basics, then explore more advanced tools as you become comfortable. This allows you to progress at your own pace.
-
Experiment with different effects and techniques to discover the software's full potential. Practice is key to mastering any new software.
While not as powerful as the full version of Photoshop, Photoshop Elements' simplified interface, guided edits, and AI-powered features make it an excellent option for beginners and hobbyists. It provides a more in-depth experience than basic online tools, serving as a valuable stepping stone for developing design skills and creating high-quality visuals.
3. GIMP
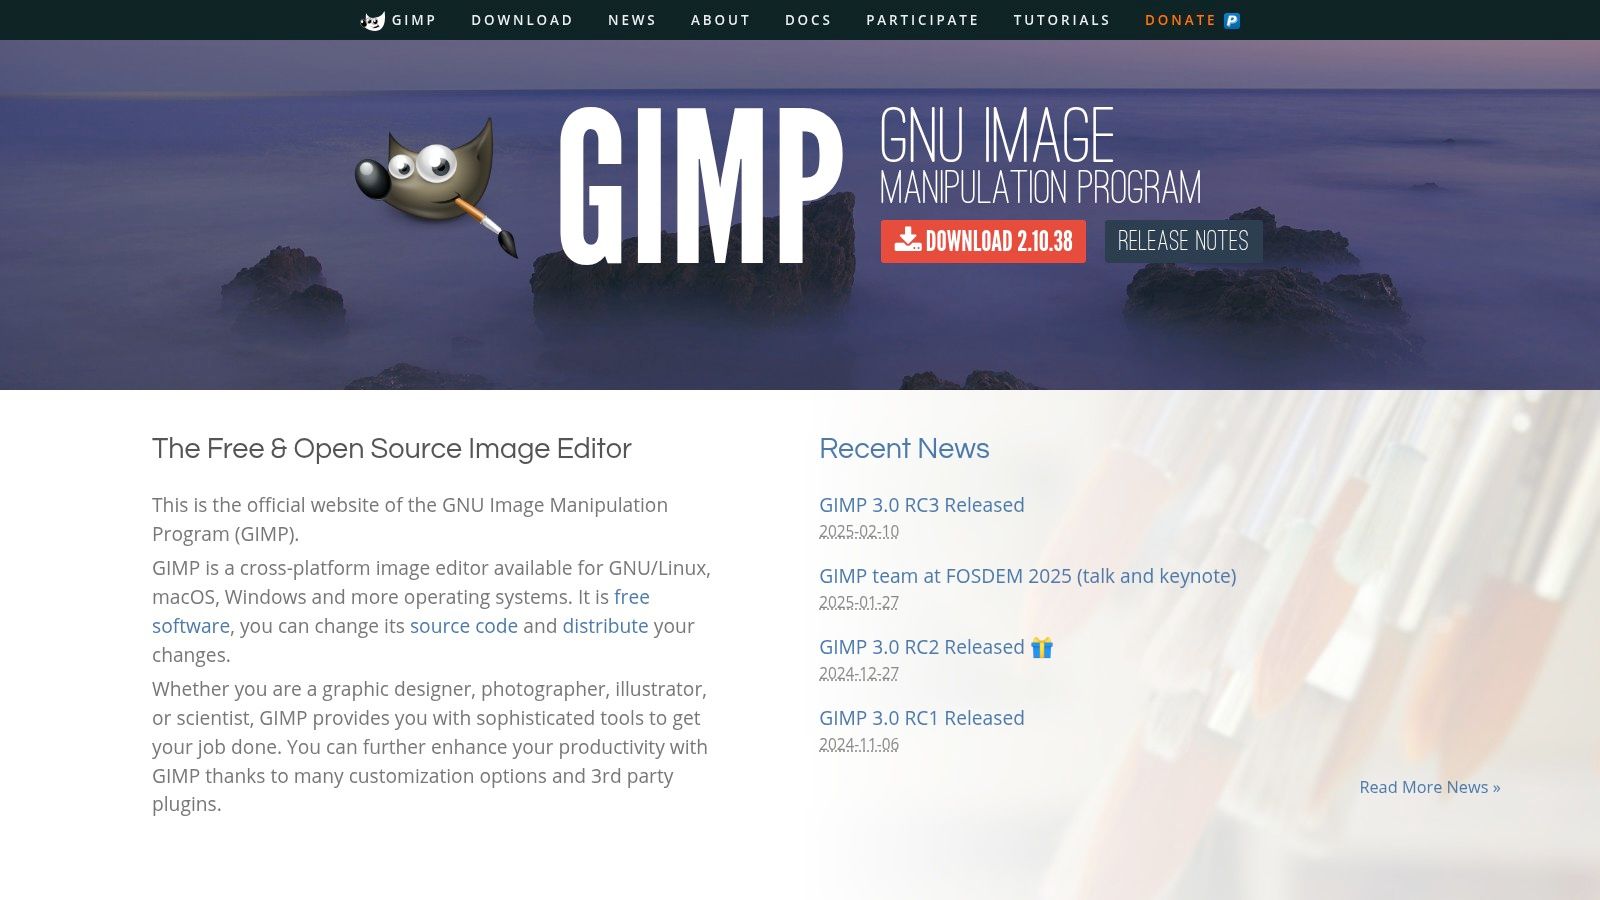
GIMP (GNU Image Manipulation Program) is a powerful, free, and open-source image editing software. It's often seen as a strong alternative to Adobe Photoshop. Its wide range of features makes it suitable for various tasks, from simple photo touch-ups to complex graphic design work. This makes it a great option for budget-minded beginners, experienced professionals, and everyone in between. You might be interested in: Our complete list of posts for more tools and resources.
GIMP's key strength lies in its robust functionality. It supports layers, masks, and a wide variety of file formats, offering the flexibility you need for detailed image editing. You can perform tasks like color correction, photo restoration, creating digital art, and designing marketing materials. Think social media graphics or website banners. For digital marketers and business professionals, this means creating professional-looking visuals without expensive software.
Features of GIMP
- Completely Free and Open-Source: There's no cost involved, ever.
- Customizable Interface: Dockable dialogs let you adjust the workspace to your preferred workflow.
- Extensive Tools: GIMP offers a large collection of brushes, filters, and effects.
- Plugin Support: Expand GIMP’s capabilities with third-party plugins.
- Cross-Platform Compatibility: It works smoothly across Windows, Mac, and Linux.
Pros and Cons
Pros:
- Professional-grade features are available at no cost.
- An active community provides tutorials and resources. This makes learning GIMP and troubleshooting problems easier.
- Regular updates and improvements keep the software current.
- There are no licensing restrictions for commercial use. Use your creations freely for business.
Cons:
- GIMP has a steeper learning curve than software designed for beginners.
- The interface can be less intuitive than commercial options like Photoshop.
- It can feel overwhelming for new users due to the sheer number of features.
- Documentation can sometimes be technical.
Pricing and Technical Requirements
Pricing: Free
Technical Requirements: GIMP runs on Windows, macOS, and Linux. Specific hardware requirements depend on your operating system and project complexity. Generally, a modern computer with enough RAM is sufficient.
GIMP earns its spot on this list by offering professional-level image editing without any cost. While it might take more effort to learn than simpler software, the extensive features and active community make GIMP a worthwhile choice for anyone serious about graphic design. It demonstrates the power of open-source software and is a valuable tool for tech enthusiasts, business professionals, and digital marketers.
4. Affinity Designer
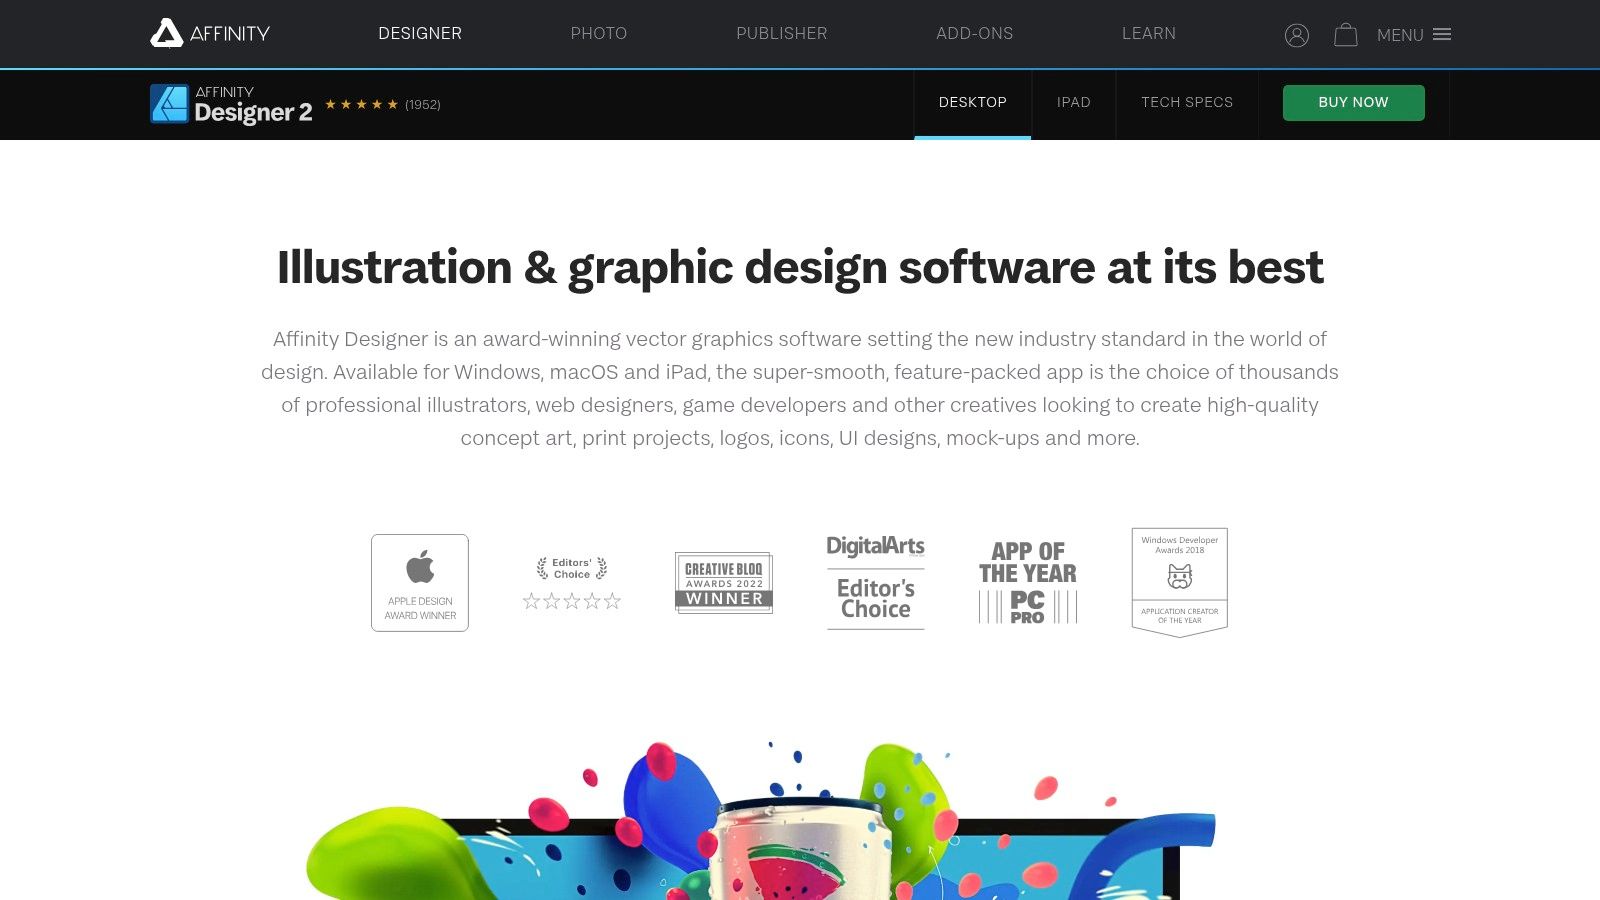
Affinity Designer is a vector graphics editor ideal for creating sharp, scalable visuals. Think logos, marketing collateral, web design elements, and detailed illustrations. While packed with professional-grade features, its user-friendly interface makes it accessible even for those transitioning from simpler design tools like Canva. Its blend of affordability, performance, and professional results secures its place on our list.
Affinity Designer presents a compelling alternative to Adobe Illustrator. It offers comparable vector design tools, such as precise pen and node tools for path creation and manipulation. A standout feature is the seamless transition between vector and pixel workspaces, allowing for direct raster effects and photo editing within your vector workflow. This is invaluable for incorporating photographic elements or crafting intricate illustrations.
Beyond core vector editing, Affinity Designer provides advanced typography controls for refined text styling and unlimited artboards. Managing multiple designs within one document becomes a breeze, particularly beneficial for projects like multi-page brochures or logo variations. You can explore our complete sitemap for further related resources.
Key Features and Benefits
Here’s a breakdown of Affinity Designer's key features:
- Comprehensive Vector Design Tools: Pen, node, and shape tools provide precise control over your designs.
- One-Time Purchase: Avoid recurring subscription fees with a single, upfront payment.
- Seamless Workspace Switching: Easily move between vector and pixel environments for a streamlined workflow.
- Advanced Typography Controls: Fine-tune text styling with comprehensive controls.
- Unlimited Artboards: Manage numerous designs efficiently within a single document.
Pros and Cons
Pros:
- Affordability: Achieve professional-level output at a fraction of the cost (approximately $55 for a perpetual license).
- Performance: Experience smooth operation, even with complex projects.
- Compatibility: Work with industry-standard file formats like AI, PSD, PDF, SVG, EPS, JPG, PNG, and more.
- Regular Updates: Benefit from ongoing improvements and new feature additions.
Cons:
- Learning Curve: While the interface is clean, some features may require a learning curve for beginners.
- Limited Beginner Tutorials: Fewer introductory resources compared to more established software.
- No Stock Image Library: You'll need to source images externally.
- Mastery Takes Time: Becoming proficient with advanced features requires dedicated practice.
Implementation and Setup Tips
- Official Tutorials: Explore Affinity Designer's website and YouTube channel for comprehensive tutorials covering the interface and core features.
- Hands-on Experimentation: Familiarize yourself with the various tools and workspaces through practical experimentation.
- Gradual Progression: Begin with simpler projects and gradually increase complexity as your skills develop.
Getting Started With Affinity Designer
Affinity Designer offers a compelling balance of power and affordability, bridging the gap between beginner-friendly applications and professional vector graphics editors. While there's an initial learning investment, the one-time purchase, strong performance, and robust feature set make it a worthwhile investment for both aspiring and established designers.
5. Inkscape: Your Free Gateway to Vector Graphics
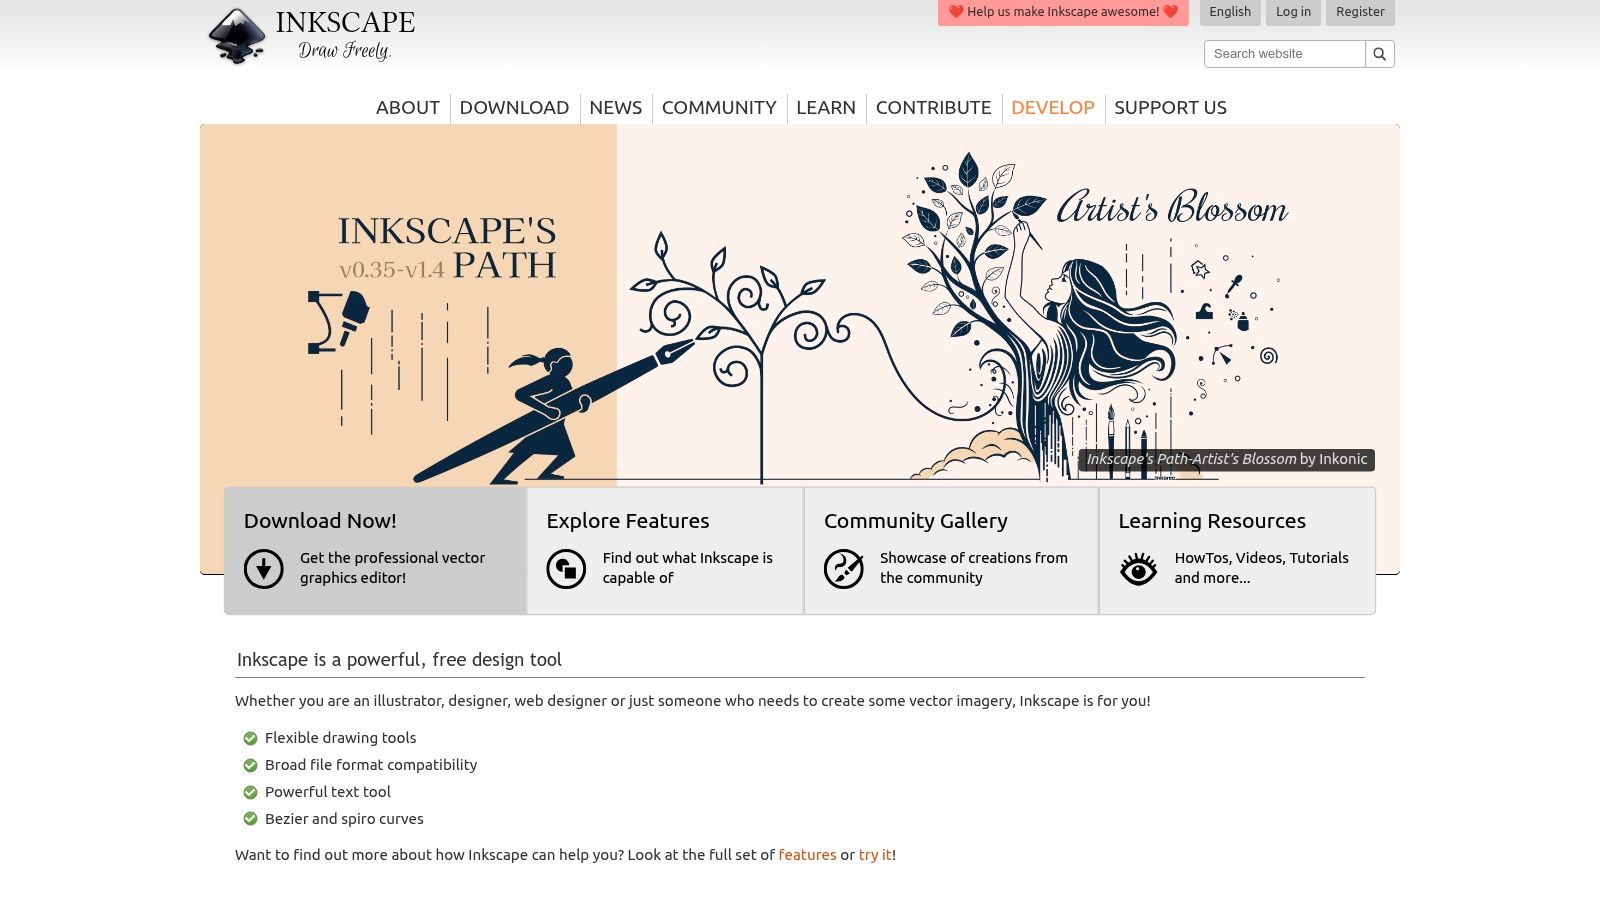
Inkscape is a leading free and open-source vector graphics editor. It's a powerful tool suitable for a broad range of users, from beginners just starting with design to seasoned professionals seeking a cost-effective solution. Whether you're creating social media graphics, designing a logo, or crafting custom channel art, Inkscape offers the necessary tools without the high cost.
This software uses the SVG (Scalable Vector Graphics) format. This means your designs can be resized without any loss of quality, making it perfect for everything from small website icons to large-format prints. Inkscape provides a comprehensive set of vector drawing tools, including pencils, pens, calligraphy tools, and various shapes.
You also have robust text manipulation options, including full path conversion, allowing for significant flexibility with typography. Furthermore, precise node editing capabilities give you granular control over your vector paths, ensuring pixel-perfect results every time.
Key Features and Benefits
- Complete Vector Drawing Toolkit: Design anything from basic icons to intricate illustrations.
- SVG and Other Format Support: Work with the industry-standard SVG format and export your work to a variety of other file types.
- Text Manipulation and Path Conversion: Create unique typographic designs with the ability to convert text into fully editable paths.
- Node Editing: Achieve refined vector shapes with precise node control.
- Cross-Platform Compatibility: Enjoy seamless operation across Windows, macOS, and Linux operating systems.
Pros and Cons of Using Inkscape
Here’s a quick overview of the advantages and disadvantages of using Inkscape.
Pros:
- Free and Open-Source: There's no cost, no subscription, and you even have access to the source code.
- Active Community: Benefit from a large, supportive community that provides tutorials, extensions, and readily available assistance.
- Regular Updates: Inkscape sees continuous improvements and new features through ongoing development.
- No Licensing Restrictions: Use your creations for personal or commercial purposes without any limitations.
Cons:
- Dated Interface: The interface may feel less modern compared to some paid alternatives.
- Performance Issues: The software might slow down when handling particularly complex designs.
- Steeper Learning Curve: While powerful, Inkscape might be less intuitive for complete beginners.
- Limited Advanced Features: It may lack some of the advanced features found in paid professional software like Adobe Illustrator.
Implementation/Setup Tips
- Download the most recent version of Inkscape from the official website: https://inkscape.org/.
- Explore the various tutorials and documentation available online. These resources can help you quickly learn both the basics and more advanced techniques.
- Consider installing extensions to enhance Inkscape’s functionality and personalize your workflow.
Inkscape vs. Adobe Illustrator
While Adobe Illustrator remains the industry standard, offering more advanced features, its subscription cost can be a barrier for some. Inkscape provides a compelling free alternative that is more than adequate for many design tasks. For users on a tight budget or those just starting, Inkscape is an excellent option. Professionals needing advanced features or specific industry-standard compatibilities may find Illustrator a better fit.
Inkscape offers remarkable value. It allows users to explore the world of vector graphics without financial constraints. The combination of a comprehensive feature set, an active community, and open-source nature makes it a valuable tool for anyone interested in graphic design, regardless of skill level.
6. PicMonkey
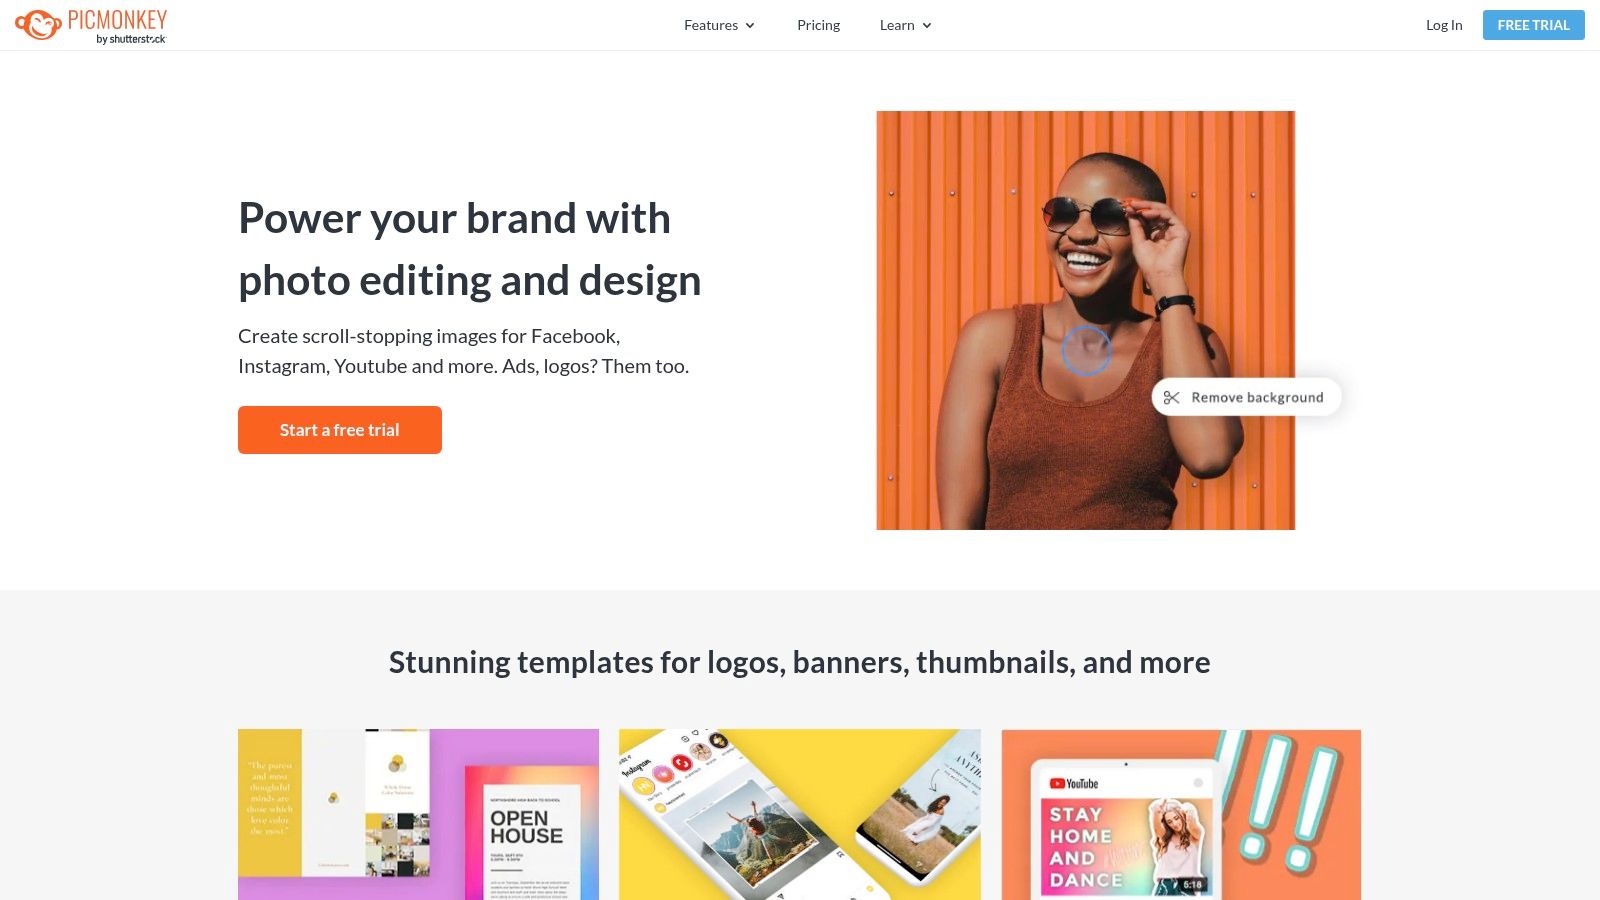
PicMonkey bridges the gap between simple image editing and comprehensive graphic design. It's a versatile tool suitable for a wide range of users, from digital marketers creating social media graphics to remote workers polishing presentations. Even streamers and content creators can benefit from its easy-to-use thumbnail creation features. This user-friendly online platform empowers beginners with robust tools without the complexity of professional software.
Imagine quickly creating engaging visuals for Facebook ads, Instagram stories, or YouTube thumbnails. PicMonkey simplifies this process, allowing you to produce visually appealing content in minutes. Its diverse template library offers starting points for various design projects, including social media posts, posters, and business cards. Customizing these templates is straightforward, with intuitive tools for adding text, graphics, and applying effects.
Beyond templates, PicMonkey offers advanced features like layers and effects for more intricate image manipulations. Need to touch up a headshot? The platform's touch-up tools and filters make enhancing photos a breeze. For maintaining brand consistency, the Brand Kit feature stores your colors, logos, and fonts, streamlining your workflow.
Features and Benefits
- User-friendly interface: Intuitive tools make design accessible to everyone.
- Extensive template library: Jumpstart your designs with pre-made templates for various needs.
- Advanced photo editing: Layers and effects allow for complex manipulations.
- Touch-up tools and filters: Enhance photos with easy-to-use tools.
- Brand Kit: Maintain brand consistency by storing your brand assets.
Pros and Cons
Pros:
- Easy to learn: The gradual learning curve is perfect for beginners.
- Balanced feature set: Offers a good balance between simplicity and advanced capabilities.
- Cloud storage: Conveniently store your designs in the cloud.
- Regular updates: Benefit from new templates and features added regularly.
Cons:
- Subscription required: Full access requires a paid subscription (check their website for current pricing).
- Limited offline capabilities: Requires an internet connection for use.
- Less powerful than desktop software: Not as feature-rich as professional design software like Photoshop.
- Some advanced features may lack depth: Certain features might not offer the same level of control as professional tools.
Comparison With Canva
Compared to Canva, another popular online design tool, PicMonkey offers more advanced photo editing features. While Canva excels in collaborative design and a vast asset library, PicMonkey provides a more focused experience for image enhancement and manipulation. Choose PicMonkey if your primary focus is working with photos. If you require extensive collaboration or a wider range of design assets, Canva might be a better choice.
Implementation Tips
- Free trial: Start with the free trial to explore the interface and features.
- Template exploration: Familiarize yourself with the template library to understand the platform's capabilities.
- Brand Kit utilization: Use the Brand Kit to maintain consistent branding in your designs.
- Tutorials and resources: Take advantage of the helpful tutorials and resources on the PicMonkey website.
Website: PicMonkey
PicMonkey offers powerful yet accessible graphic design tools for a diverse user base. Whether you're a business professional, a digital marketer, or just someone looking to improve their visual content, PicMonkey offers the features you need to create professional-looking results without the complexity of traditional design software.
7. Gravit Designer
Gravit Designer, now part of Corel, offers a compelling blend of user-friendliness and professional vector design tools. Whether you're creating social media graphics, presentations, or a logo, Gravit Designer provides a versatile platform for your visual ideas. It's available as both a web and desktop application, accommodating various workflows.
This software is a great starting point for design novices. The intuitive interface makes learning vector editing easy. You can quickly create logos, icons, illustrations, and even edit photos. As your skills develop, Gravit Designer offers advanced features like path editing, boolean operations, and multiple workspaces to organize projects. It's accessible for beginners, yet powerful enough for complex tasks.
Key Features
- Web-Based and Desktop Application: Work online or offline, syncing projects across devices.
- Precision Vector Editing Tools: Create crisp, scalable graphics.
- Multiple Workspaces: Organize design projects efficiently.
- Free Version with Substantial Functionality: Access core design tools without cost.
- Advanced Features (Pro): Unlock features like path editing and boolean operations.
Pros and Cons
Here's a quick breakdown of the advantages and disadvantages:
| Pros | Cons |
|---|---|
| Beginner-friendly, scalable for complex projects | Pro version requires a subscription |
| Free version available | Smaller community/fewer tutorials than Adobe Illustrator |
| Cloud synchronization | Some advanced features limited to Pro |
| Online/Offline Functionality | Performance can lag with complex designs |
Pricing and Technical Requirements
A free version is available with core functionalities. The Pro version requires a subscription. Check the Gravit Designer website for current pricing. The web version runs in most modern browsers, while the desktop version is compatible with Windows, macOS, and Linux. Specific requirements can be found on the official website.
Comparison With Similar Tools
Gravit Designer is a compelling alternative to more expensive software like Adobe Illustrator, particularly for budget-conscious users or those who don't need a full suite of professional tools. Inkscape, a free and open-source vector graphics editor, offers similar functionality but has a steeper learning curve.
Implementation Tips
- Start with the free version to explore the interface and tools.
- Explore the tutorials and documentation on the Gravit Designer website.
- Use the cloud synchronization for seamless cross-device workflow.
Website: https://www.designer.io/
Gravit Designer's free and pro versions, combined with its intuitive interface and cloud-based accessibility, make it valuable for a broad audience. Whether you're a seasoned designer or just starting, it provides a platform for creating professional-quality vector graphics.
8. Krita
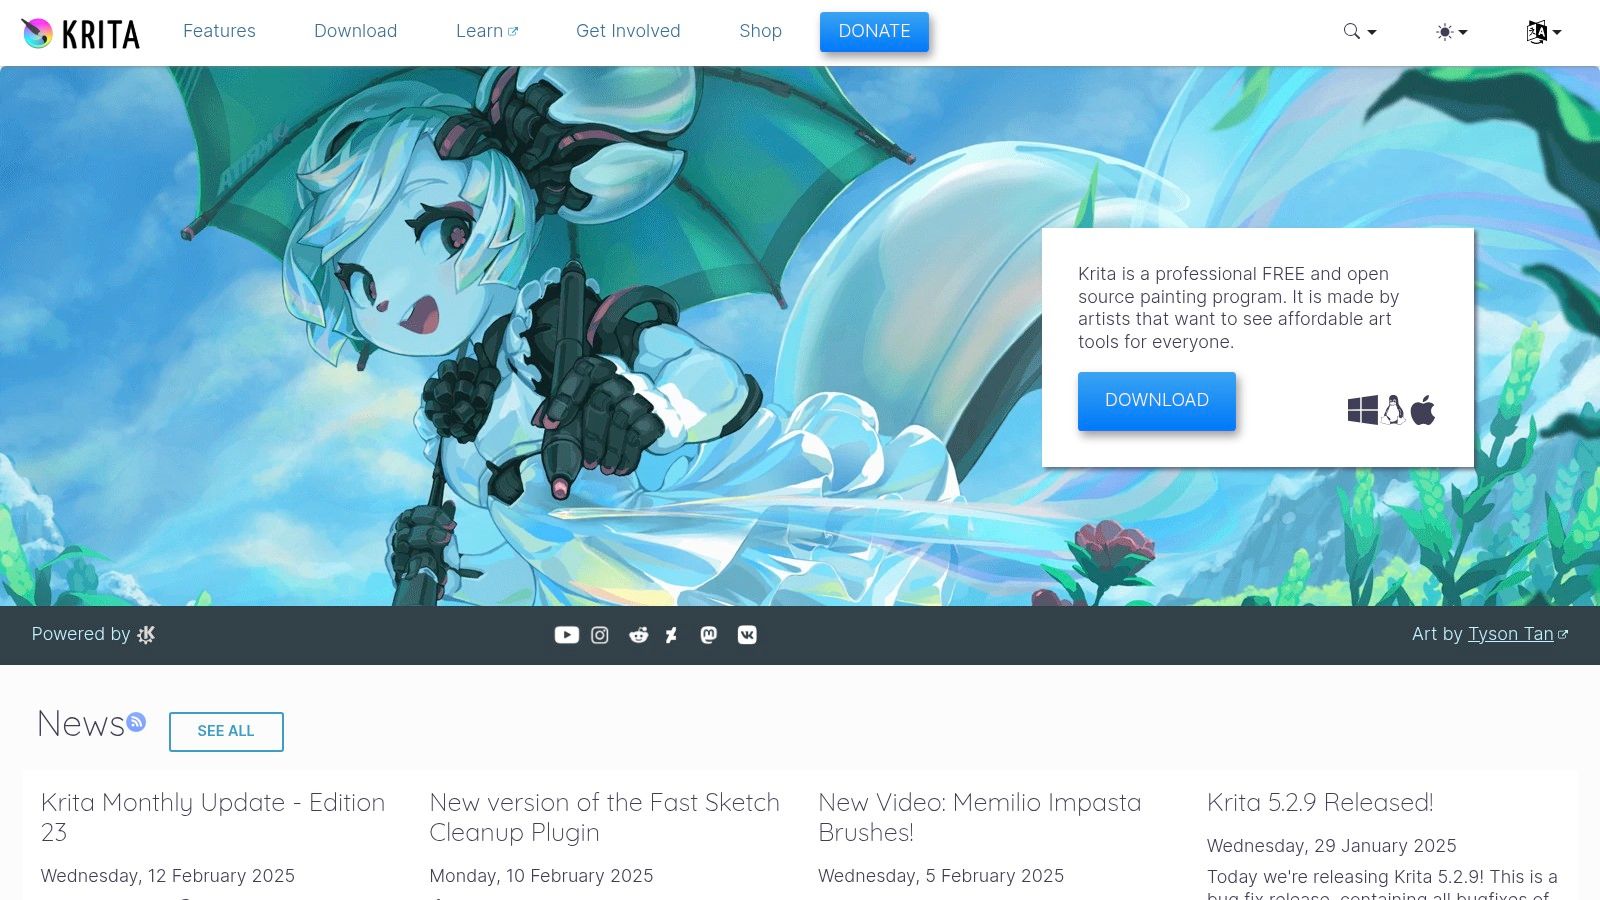
Krita is a powerful, free, and open-source software option specifically designed for digital painting and illustration. While not a comprehensive graphic design suite like some others, it offers versatility for certain graphic design tasks. This makes it particularly valuable for beginners, especially those wanting to incorporate illustrations into their designs. It's a perfect starting point for those hesitant to invest in expensive software.
Krita can be thought of as a combination of a digital canvas, brush set, and essential vector tools. Create stunning illustrations, design unique social media graphics with a hand-drawn aesthetic, or even develop initial concept art for branding projects. While you might not be able to design an entire magazine layout in Krita, it's an excellent tool for creating individual design assets that can be used in other design software.
Krita's intuitive brush engine is a key feature, offering a diverse range of brushes and customization options to replicate various traditional media. The layer management system, including support for groups and masks, provides the necessary flexibility for complex artwork and design projects.
Key Features and Advantages
Krita also offers vector tools for creating scalable graphics. Several view modes, including mirroring and rotation, are particularly helpful for creating symmetrical designs or reviewing work from different perspectives. The ability to work with both raster and vector graphics within the same program further streamlines workflows.
Key Features:
- Intuitive brush engine with customizable brushes
- Layer management with group and mask support
- Vector tools for precise design elements
- Multiple view modes including mirror and rotation
- Supports both raster and vector editing
Pros:
- Completely free and open-source
- Exceptional painting and illustration capabilities
- Active community with many tutorials
- Regular updates with new features
Considerations and Setup
Cons:
- More focused on illustration than general graphic design
- Limited typography features compared to dedicated design software like Adobe InDesign or Affinity Publisher.
- Interface can be overwhelming for absolute beginners, though less so than GIMP.
- Less suitable for layout-heavy design projects
Website: https://krita.org/
Implementation/Setup Tips:
Krita is available for Windows, macOS, and Linux. Download the appropriate version from the official website and follow the installation instructions. The Krita community offers numerous tutorials, providing ample learning resources. Begin with basic brush exercises and progressively explore more advanced features such as layer management and vector tools.
Users transitioning from Photoshop might find the keyboard shortcuts different, so take time to customize them to match your existing workflow. Don't be intimidated by the numerous options; concentrate on learning the tools relevant to your specific projects.
Krita's free and open-source nature, coupled with its robust painting and illustration tools, makes it a valuable asset for any aspiring graphic designer. It's especially useful for those drawn to a more artistic, illustrative approach. While not a replacement for dedicated graphic design software for layout-intensive projects, Krita excels in its specialized area and provides an excellent entry point into digital art and design.
9. DesignCap: Effortless Design For Beginners

DesignCap is a user-friendly graphic design tool perfect for beginners. Whether you're a tech enthusiast exploring visual content, a business professional needing marketing materials, a digital marketer creating social media posts, or a remote worker enhancing presentations, DesignCap's simplicity is invaluable. Its intuitive interface makes design accessible to everyone, allowing the creation of professional-looking visuals in minutes.
DesignCap's core strength lies in its template-based system. Need a YouTube thumbnail, an Instagram story, a Facebook cover, or an infographic? You'll find a pre-designed template ready for customization. Choose a template, drag and drop elements, replace stock photos with your own or select from their library, adjust the text, and you're done. The one-click background remover simplifies image integration into your designs.
For social media managers, DesignCap streamlines creating eye-catching graphics tailored to platform-specific dimensions. Business professionals can quickly generate marketing materials like flyers, brochures, and presentations without specialized design skills. Even streamers and content creators can use DesignCap for custom channel art or promotional materials.
Key Features and Benefits
Features:
- Template-based design system
- Drag-and-drop interface
- Integrated stock photo library
- Text effects and typography tools
- One-click background remover
Pros:
- Beginner-friendly
- Free plan available
- Web-based, no installation needed
- Targeted template library
Cons:
- Limited customization compared to professional software like Photoshop or Illustrator
- Watermarks on exported designs with the free version
- Fewer advanced features
- Limited offline functionality
Pricing and Technical Requirements
Pricing: A free plan is available, but DesignCap offers paid subscriptions for premium features, higher resolution exports, and watermark removal. See their website for specific pricing.
Technical Requirements: DesignCap is web-based, requiring only a stable internet connection and a modern web browser.
Comparison and Implementation Tip
Comparison: Similar tools like Canva and Crello offer comparable functionality, but DesignCap's ease of use makes it ideal for beginners.
Implementation Tip: Start with a template that closely matches your vision. This speeds up the design process, allowing you to focus on customizing specific elements.
Website: https://www.designcap.com/
DesignCap empowers non-designers to create visually appealing content without the complexity of professional software. While it may not replace tools like Photoshop for complex projects, it’s a valuable resource for anyone needing quick, easy, and effective graphic design solutions.
10. Vectr
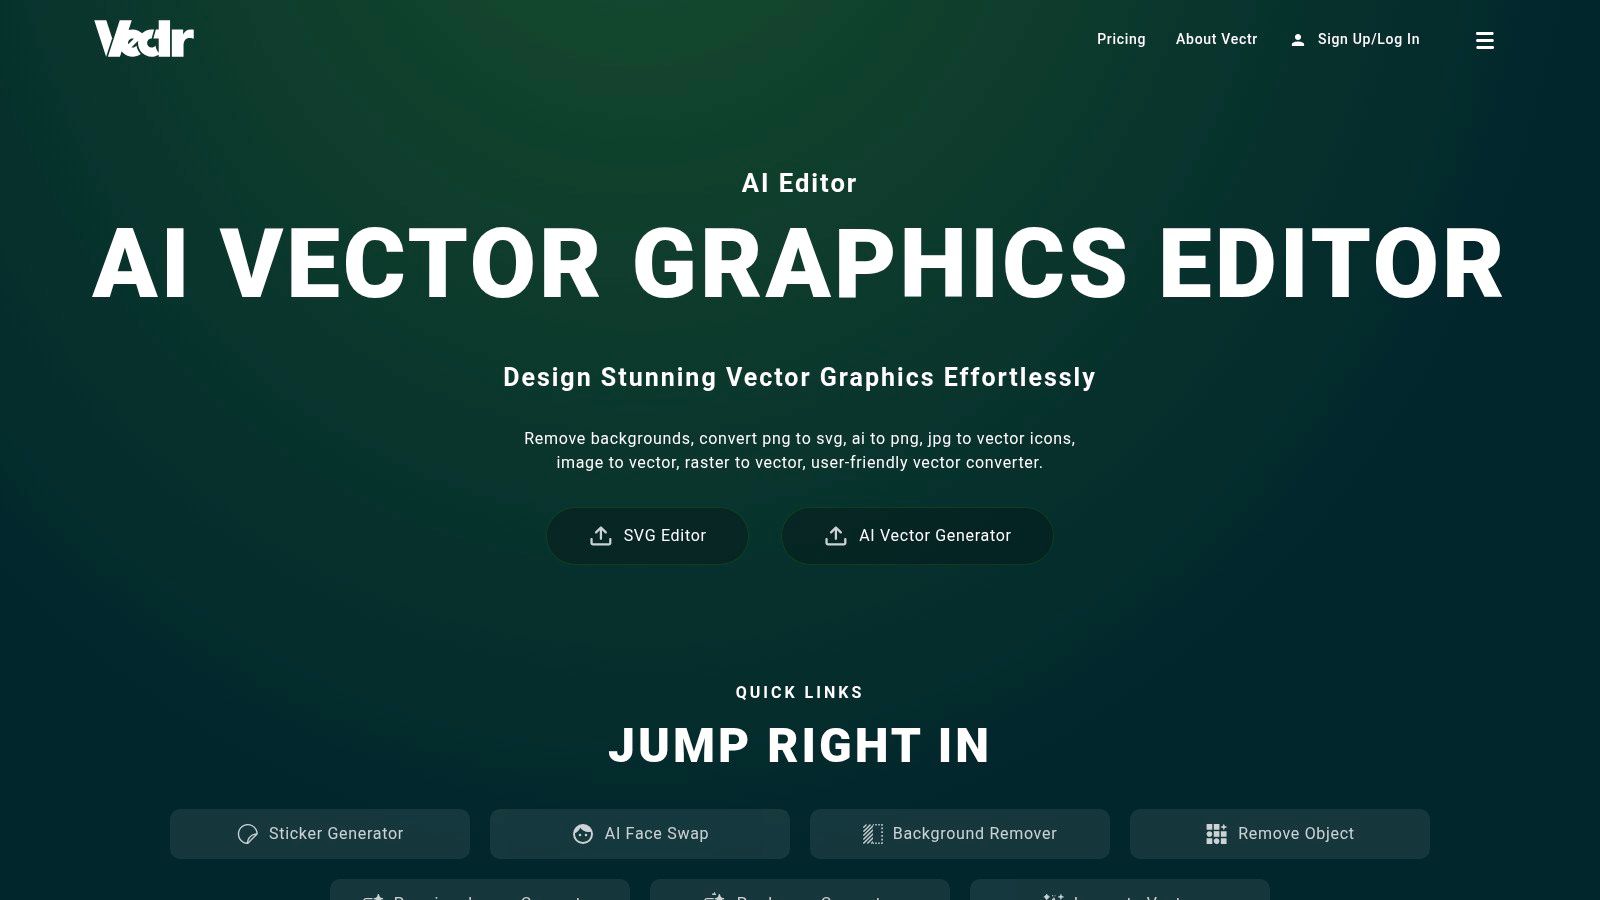
Vectr is an excellent starting point for exploring vector graphics. This completely free and intuitive tool is perfect for beginners looking to create sharp, scalable images without the complexity of professional design software. Think about designing a quick logo for a new online business or a simple icon for social media. Vectr empowers you to achieve these goals efficiently, even without prior design experience.
Vectr's strength lies in its simplicity. The clean interface and straightforward tools make it easy to learn vector editing basics, such as using the pen tool, manipulating shapes, and adding text. This makes it a great alternative to more complex software like Adobe Illustrator, especially for quick projects where learning a complex program isn't practical. For busy professionals, digital marketers, and remote workers who need to quickly create visuals, Vectr is a real time-saver.
Key features include intuitive vector editing tools, real-time collaboration and sharing, and cross-platform availability (web and desktop). Built-in tutorials offer helpful guidance for beginners, and SVG import and export capabilities ensure compatibility with other design programs. Live collaboration simplifies teamwork on projects, regardless of location, which is a significant advantage for remote teams.
Vectr: Pros and Cons
Here's a quick look at the advantages and disadvantages of using Vectr:
Pros:
- Free: No subscription fees, making it accessible to everyone.
- Easy to Learn: Get started quickly without extensive training.
- No Account Needed (for basic use): Jump right in and start creating.
- Real-Time Collaboration: Work seamlessly with others.
Cons:
- Limited Advanced Features: Not ideal for complex illustrations or professional print design.
- Fewer Templates: You'll likely be creating designs from scratch more often.
- Basic Typography: Limited font selection and text editing options.
- Infrequent Updates: New features and improvements might not be released regularly.
Getting Started with Vectr
Here are a few tips for implementing and setting up Vectr:
- Web Application: Use the web app for quick access without installation, ideal for simple projects.
- Desktop App: Download the desktop version for offline use and a more stable experience.
- Tutorials: Utilize the built-in tutorials to quickly familiarize yourself with the software.
Vectr is perfect for anyone who needs to create basic vector graphics without investing significant time in learning complex software. Whether you're a tech enthusiast exploring design, a business professional creating marketing materials, or a remote worker needing quick visuals, Vectr provides a user-friendly and accessible solution. Visit the Vectr website to get started.
Top 10 Graphic Design Tools for Dummies: Quick Comparison
| Title | Core Features ★ | User Experience/Quality 👥 | Unique Selling Points ✨ | Price 💰 |
|---|---|---|---|---|
| Canva | Drag-drop, extensive templates & mobile app | Intuitive & collaborative for beginners | Extensive free assets | Freemium upgrade |
| Adobe Photoshop Elements | Guided edits, AI tools & layer editing | Simplified pro-editing for hobbyists | One-time purchase with Adobe integration | Affordable one-time |
| GIMP | Open-source, plugin support & pro tools | Powerful yet steeper learning curve | Free professional-grade software | Free |
| Affinity Designer | Comprehensive vector tools, cross-workspace & artboards | Professional yet accessible to beginners | Pro-level quality at an affordable cost | One-time purchase |
| Inkscape | Vector design, SVG support & node editing | Community-driven and solid for beginners | Free, open-source vector editor | Free |
| PicMonkey | Photo editing, templates & cloud storage | Balanced features with gradual learning | Robust online design with rich template library | Subscription-based |
| Gravit Designer | Vector editing, multi-workspace & offline capability | Accessible interface with free core option | Dual-mode (web & desktop) with cloud sync | Free core, pro subscription |
| Krita | Digital painting, layers & vector tools | Tailored for illustrators & creative users | Artist-centric free painting app | Free |
| DesignCap | Template-based design, drag-drop & background remover | Extremely easy for non-designers | Quick creation for social media graphics | Free plan, premium upgrade |
| Vectr | Simple vector editing, real-time collaboration & SVG | Minimal learning curve, very approachable | Free tool with live collaboration features | Free |
Unleash Your Inner Designer
With a diverse range of graphic design software options available, even for beginners, there's no reason not to start creating stunning visuals. Choosing the right tool depends on your specific needs, budget, and technical skills.
Choosing The Right Tool
Finding the perfect software can feel overwhelming. Here’s a breakdown to help you choose:
-
Beginners with basic needs (social media graphics, presentations): Canva, DesignCap, and PicMonkey offer user-friendly interfaces, pre-made templates, and drag-and-drop functionality. They're ideal for quick, simple designs.
-
Intermediate users seeking more control: GIMP, Krita (especially for digital painting), and Vectr (for vector graphics) provide more advanced features without the steep learning curve or cost of professional software.
-
Aspiring professionals and those needing advanced features: Adobe Photoshop Elements and Affinity Designer offer a robust set of tools for photo editing, graphic creation, and layout design. Inkscape is a powerful open-source alternative for vector graphics.
Implementation and Getting Started
Once you've chosen your software, these tips will help you get started:
-
Start with tutorials: Most platforms offer extensive tutorials and help resources. Take advantage of these to familiarize yourself with the interface and key features.
-
Experiment with templates: Don't be afraid to use pre-made templates as a starting point. Customize them to fit your brand and message.
-
Practice regularly: The more you use the software, the more comfortable and proficient you'll become.
Budget and Resource Considerations
Software costs and system requirements are important factors to consider:
-
Free options: Canva, GIMP, Inkscape, Krita, and Vectr offer free versions with ample functionality. Explore their premium versions for additional features if needed.
-
Paid options: Adobe Photoshop Elements, Affinity Designer, and PicMonkey have one-time purchase or subscription models. Factor these costs into your budget.
-
Hardware requirements: While most of these tools run smoothly on standard computers, professional-grade software like Adobe Photoshop Elements and Affinity Designer may benefit from more powerful machines for optimal performance.
Integration and Compatibility
Think about how your chosen software will fit into your existing workflow:
-
File formats: Pay attention to supported file formats when choosing software. Ensure compatibility with other programs you might use.
-
Cloud storage: Some tools offer cloud storage and collaboration features, which can be beneficial for team projects and remote work.
Key Takeaways
Here are the main points to remember:
-
Start simple: Choose a beginner-friendly tool like Canva if you're just starting out.
-
Consider your needs: Evaluate your specific design requirements and choose a tool that matches them.
-
Explore free options: Many free tools offer excellent functionality.
-
Practice makes perfect: The more you practice, the better you’ll become.
From free and beginner-friendly platforms like Canva to professional-grade software like Adobe Photoshop Elements, the perfect tool is out there. Explore these options and begin your creative journey today!